Raspberry Pi Pico: Difference between revisions
Jump to navigation
Jump to search
No edit summary |
No edit summary |
||
| Line 1: | Line 1: | ||
[[File:Pipico01.PNG|300px]] | [[File:Pipico01.PNG|300px]] | ||
= Links = | |||
Here are some links for the Raspberry Pi Pico board: | Here are some links for the Raspberry Pi Pico board: | ||
| Line 16: | Line 16: | ||
* https://datasheets.raspberrypi.org/pico/raspberry-pi-pico-python-sdk.pdf | * https://datasheets.raspberrypi.org/pico/raspberry-pi-pico-python-sdk.pdf | ||
= Related Video = | |||
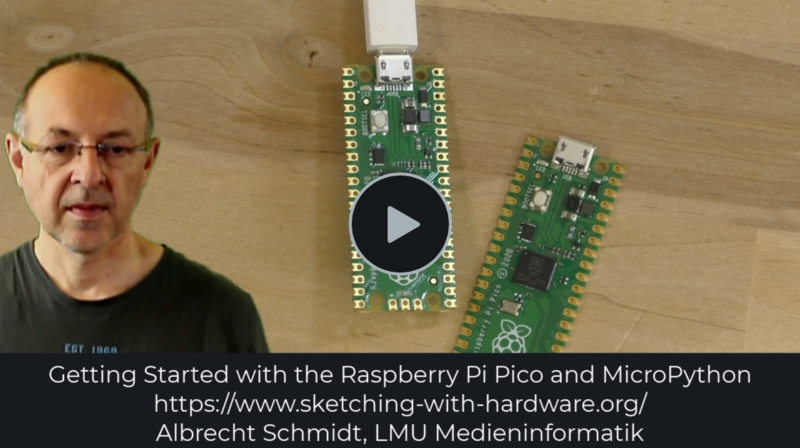
[[File:Pipico02.PNG|800px|link=https://www.sketching-with-hardware.org/video/pipico01/pipico01_player.html]] | [[File:Pipico02.PNG|800px|link=https://www.sketching-with-hardware.org/video/pipico01/pipico01_player.html]] | ||
= Code Example = | |||
= Control the internal LED with MicroPython = | |||
The internal LED is connected to Pin 25. | |||
<syntaxhighlight lang="python" line='line'> | |||
from machine import Pin | |||
# the internal LED is connected to Pin 25, we use it as output | |||
myLED = Pin(25, Pin.OUT) | |||
# this switches the LED on | |||
myLED.on() | |||
# this switches the LED off | |||
myLED.off() | |||
</syntaxhighlight> | |||
Revision as of 23:42, 21 February 2021

Links
Here are some links for the Raspberry Pi Pico board:
The starting page:
Board pinout
- https://www.raspberrypi.org/documentation/pico/getting-started/#board-specifications
- https://datasheets.raspberrypi.org/pico/Pico-R3-A4-Pinout.pdf
MicroPython on the Raspberry Pi Pico
- https://www.raspberrypi.org/documentation/pico/getting-started/#getting-started-with-micropython
- https://datasheets.raspberrypi.org/pico/raspberry-pi-pico-python-sdk.pdf
Related Video
Code Example
Control the internal LED with MicroPython
The internal LED is connected to Pin 25.
from machine import Pin
# the internal LED is connected to Pin 25, we use it as output
myLED = Pin(25, Pin.OUT)
# this switches the LED on
myLED.on()
# this switches the LED off
myLED.off()